Using Remix
Hello World style starter project. Deploys a smart contract with a message, and renders it in the front-end. You can change the message using the interact panel!
This dapp implements a "Hello World" style application that echoes a message passed to the contract to the front end. This tutorial is intended to be followed using the online IDE available at Remix IDE.
Setting up Remix IDE
Remix IDE is an online IDE to develop smart contracts.
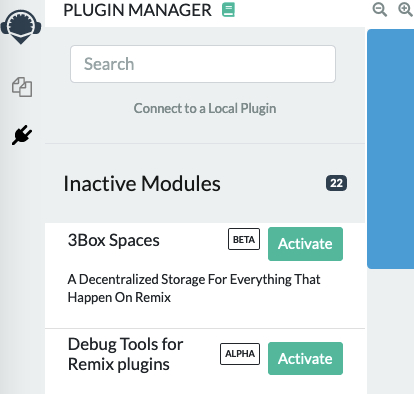
If you’re new to Remix, You’ll first need to activate two modules: Solidity Compiler and Deploy & Run Transactions.
Search for 'Solidity Compiler' and 'Deploy & Run Transactions' plugins in the plugin tab in Remix.
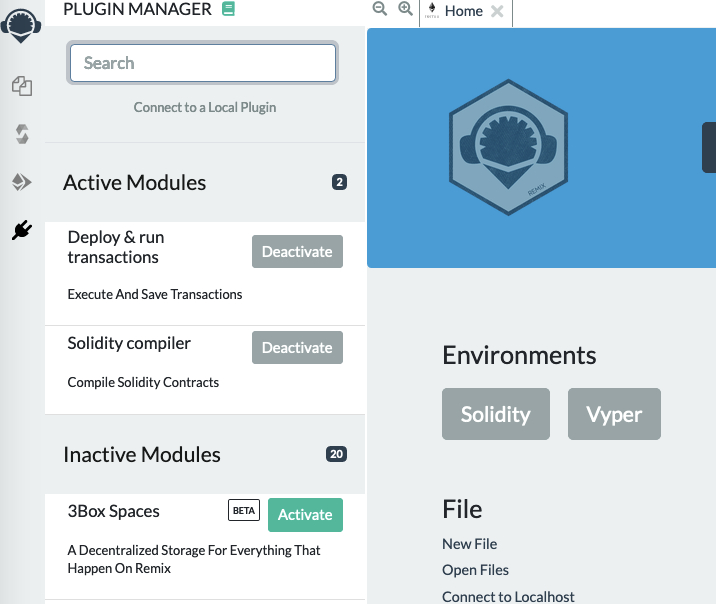
Activate the two plugins
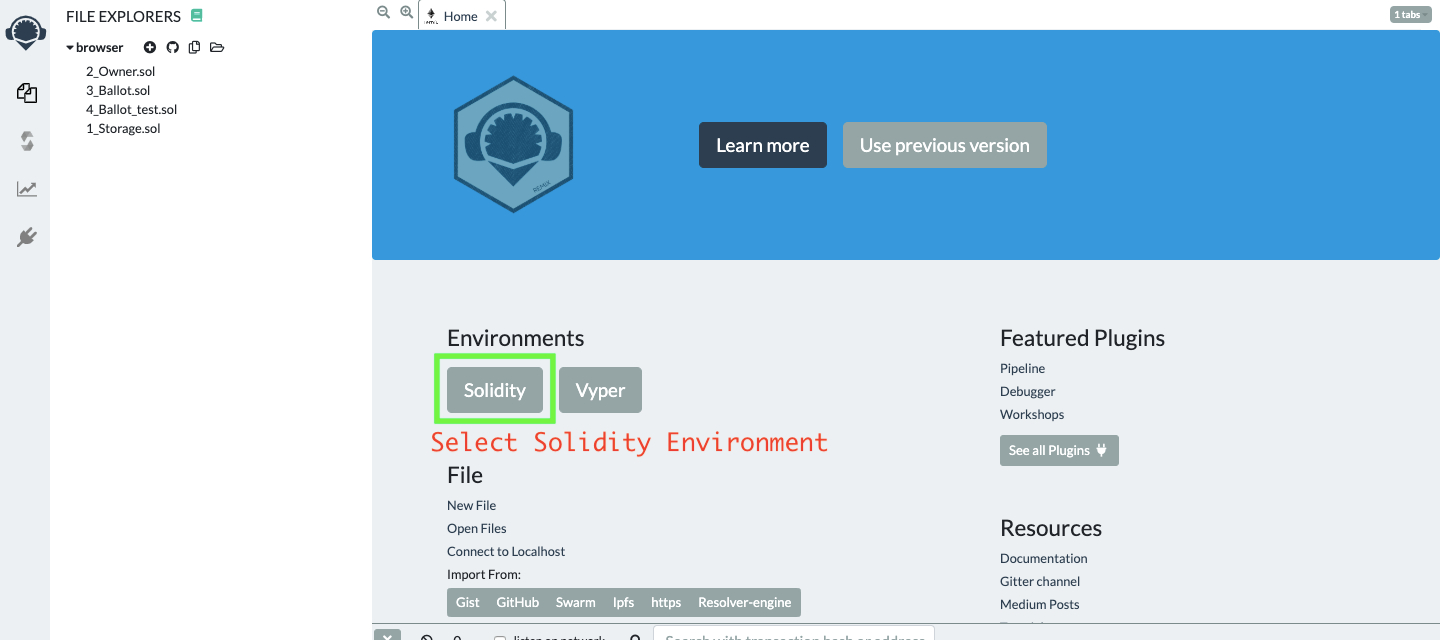
Select Solidity Environment
Copy/Paste the Smart contract below into the newly created file
HelloIgnite.sol
The smart contract
The first line, pragma solidity ^0.8.10 specifies that the source code is for a Solidity version greater than 0.8.10. Pragmas are common instructions for compilers about how to treat the source code (e.g., pragma once).
Compile Smart Contract
Go to Solidity Compiler.
Select Compiler Version to 0.8.10.
Now, Compile
HelloIgnite.sol
Now, We have to deploy our smart contract on Ignite Chain network. For that, we have to connect to web3 world, this can be done by using Metamask.
Please follow this tutorial to setup a Metamask Account.
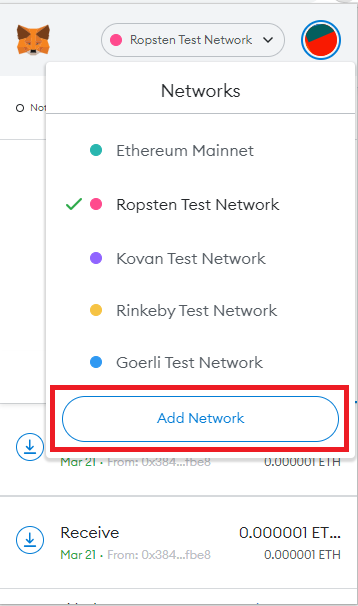
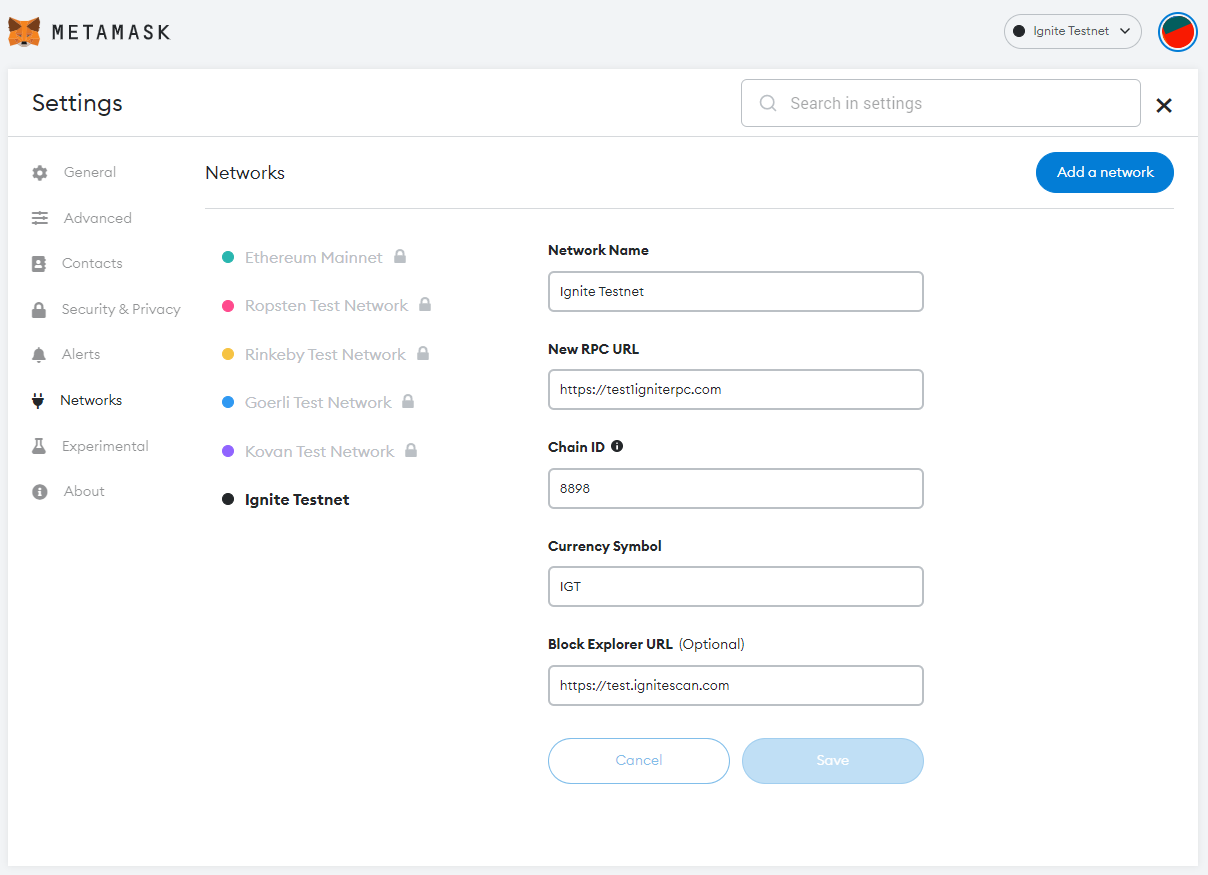
Open Metamask and select Add Network from the networks dropdown.
Put in a Network name - “Ignite Testnet”
In URL field you can add the URL as "https://test1igniterpc.com"
Enter the Chain ID: 8898
(Optional Fields) Symbol: "IGT" and Block Explorer URL: "https://test.ignitescan.com/"
Go ahead and click save
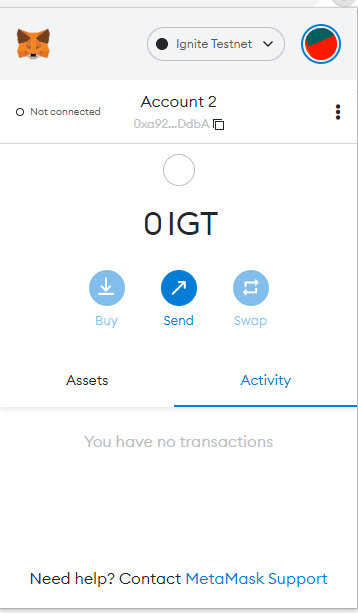
Copy your address from Metamask
Head over to Ignite Faucet and request test IGT - you will need this pay for gas on Ignite Chain.
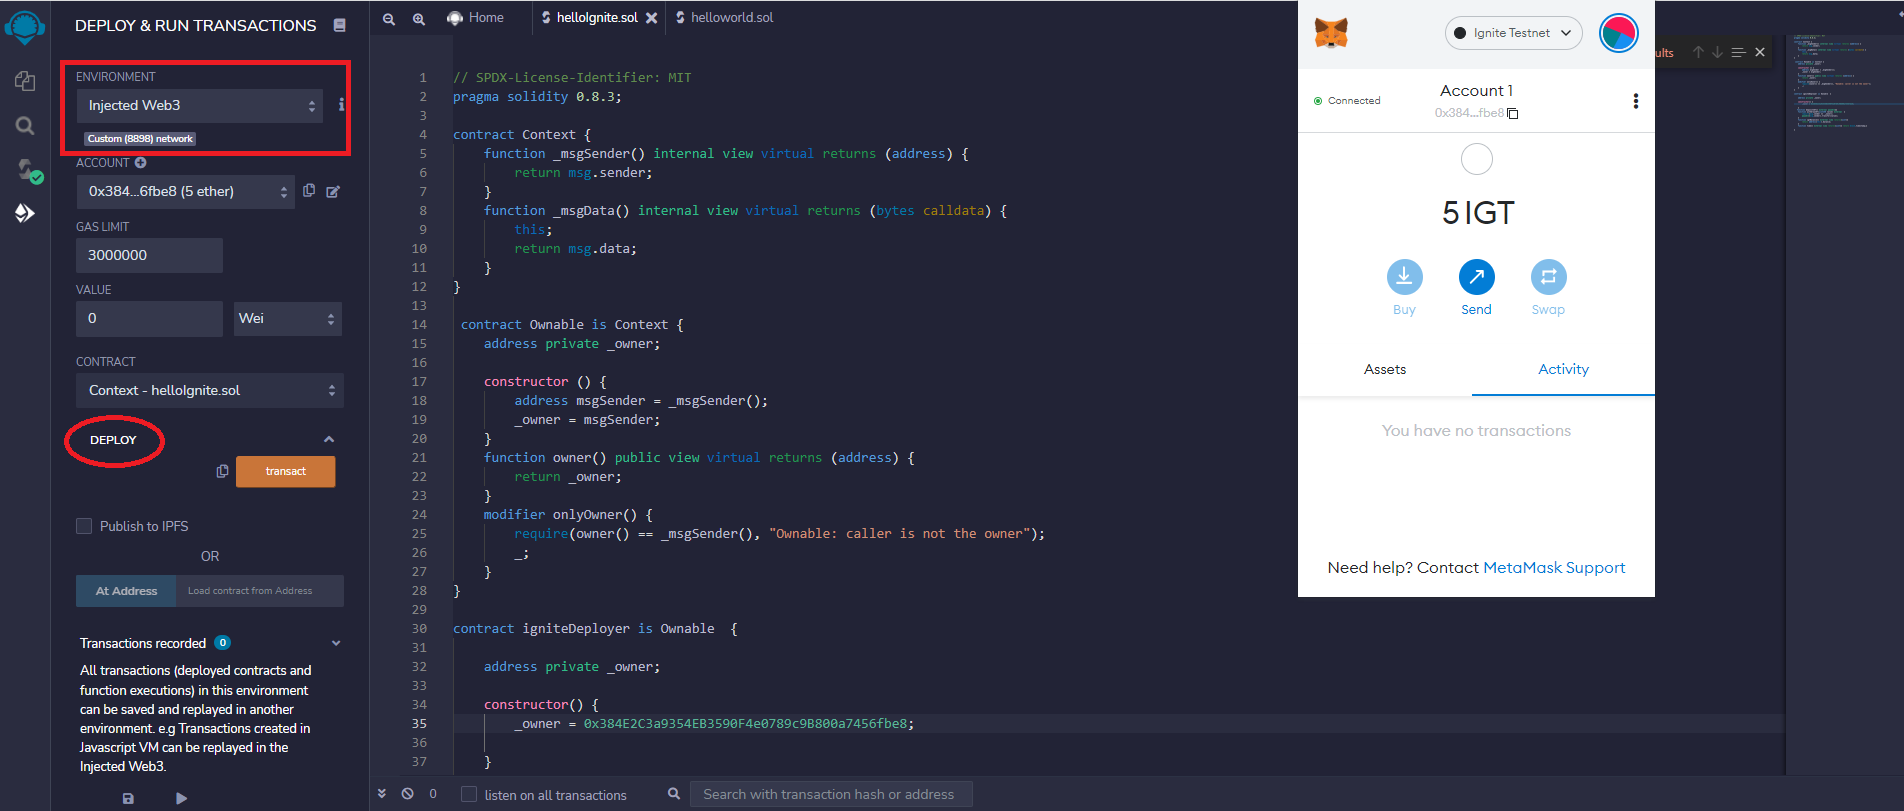
Now, let's Deploy the Smart Contract on Ignite Chain:
Select Injected Web3 in the Environment dropdown and your contract
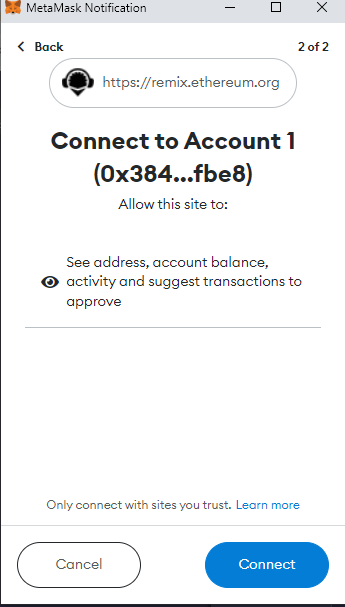
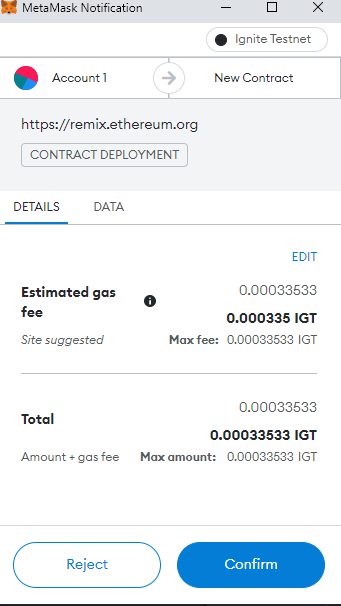
Accept the Connection Request!
Once Metamask is connected to Remix, the ‘Deploy’ transaction would generate another Metamask popup that requires transaction confirmation.
Congratulations! You have successfully deployed HelloIgnite Smart Contract. Now you can interact with the Smart Contract.
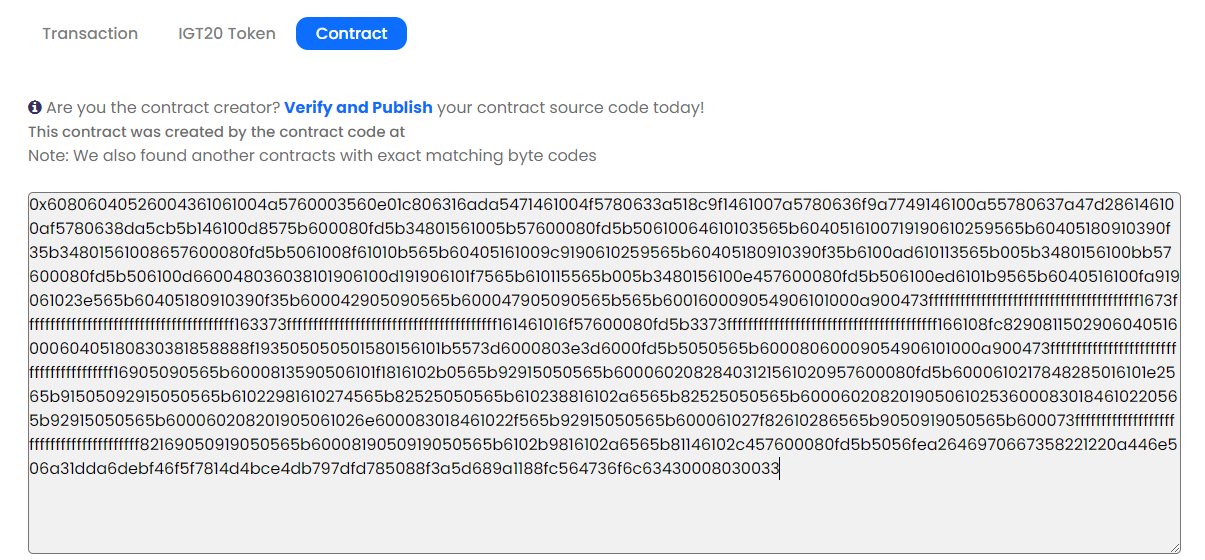
Check the deployment status here: .https://test.ignitescan.com/
Verifying your Contracts on IgniteScan
The first and foremost step is to flatten the solidity contract into a single file.
Flatten your solidity contract
Install truffle-flattener or sol-merger
Flatten using command
sol-merger \"./contracts/*.sol\" ./build
Verifying Contract on Ignitescan
Navigate to your contract's Ignitescan page and then click verify and publish
Select
Solidity (Single File)in compiler typeSelect appropriate compiler version
Choose the license type of your contract
Onto the next section, paste your flattened contract here.
If you had enabled optimization then adjust the optimization section accordingly.
Constructor arguments should have been filled in automatically, if not, they can be retrieved from the trailing bytes of the deployment transaction, they resemble something like 0000000000000000076172d1a6fa476172d1fb5f76172d178d61b04b0ecd319c
If you have followed the process successfully, the contract would be verified.
Last updated